Ads Account Setup
How to create Ads Account
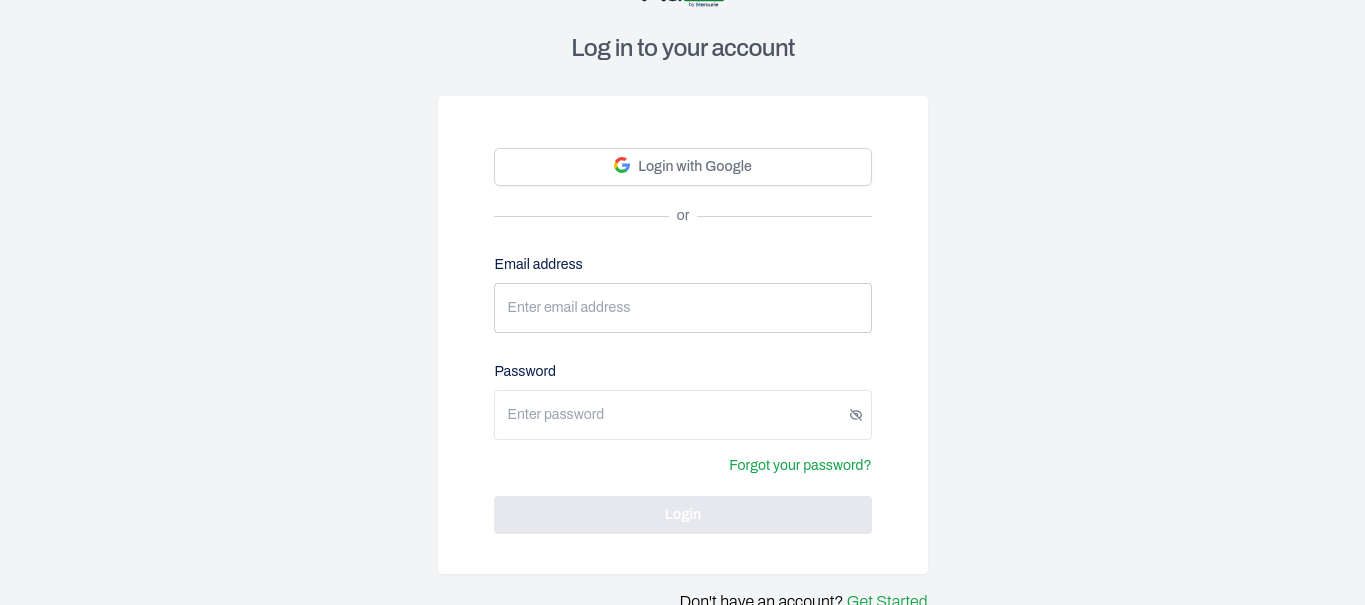
Step 1: Login to Your AdPay Dashboard
To get started, you need to log in to your AdPay dashboard.

Step 2: Navigate to the Accounts Section
Once you are logged in, you will see a menu on the left side of the dashboard. From the list of options, select "Accounts." This will take you to the accounts page where you can manage your Google Ads accounts.

Step 3: Click Create Account Button
On the accounts page, you will have the option to create a new Google Ads Account. Click on "Create New Account" to begin the account creation process.

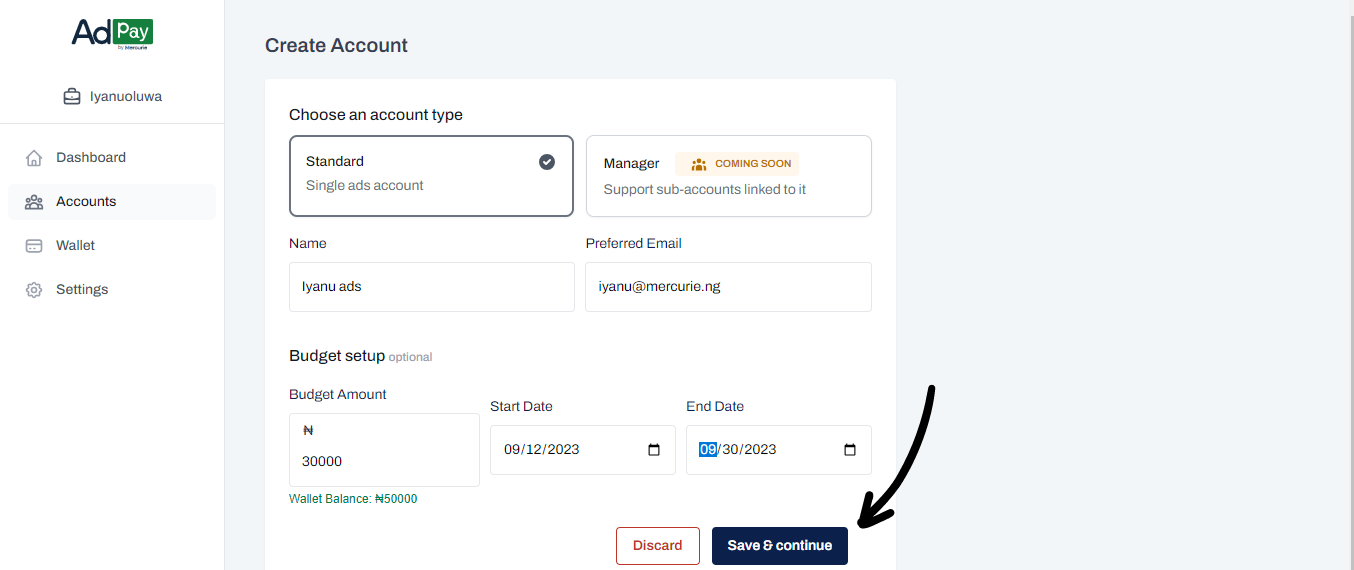
Step 4: Choose the Type of Account
There are two types of Google Ads accounts:
Standard Accounts: These are single Ads accounts that you can use to run your advertising campaigns.
Manager Accounts: These accounts can support multiple sub-accounts (standard accounts) linked to them. However, as of now, you can only create standard accounts via the AdPay platform as manager Accounts can only be created from the Google Ads interface.
Select "Standard Account" as your choice since that's what AdPay is currently supported via the AdPay platform.

Step 5: Input Account Details
Next, you will need to provide some essential information for your new Google Ads account. This includes:
Name: Choose an account name that identifies your business or campaign.
Preferred Email: Enter the email address that will be associated with this account.
Step 6: Fund Your Account (Add an Account Budget)
You can choose to fund your Google Ads account during the creation process. This is referred to as setting an account budget. Under the "Budget Setup" section within the create account page, input the following details:
Budget Amount: Input the amount you want to fund the Ad account with.
Start Date: Specify when you want the budget to become active.
End Date: Choose when the budget should stop being active.
Step 7: Save and Continue
After inputting all the necessary details, click on the "Save and Continue" button to proceed.

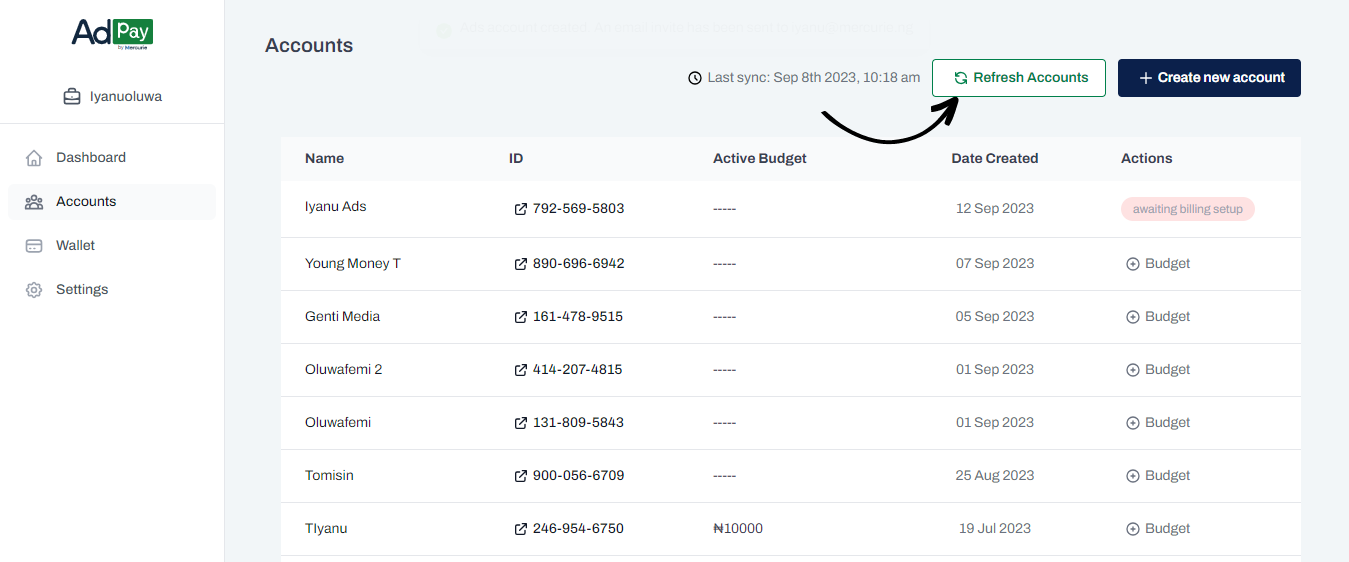
Step 8: Account Creation Sync
You will be redirected to the accounts page on AdPay. To ensure that your account creation is successfully synced with your Google Ads Manager account, click on "Refresh Accounts."

Once you have completed the above steps, you have now successfully created and, if desired, funded your Google Ads account using AdPay. You can start setting up your advertising campaigns on the Google Ads platform.